Version 1.24 - Shattered Seas Support 🌊Loadout Mastery is now live ⚔️

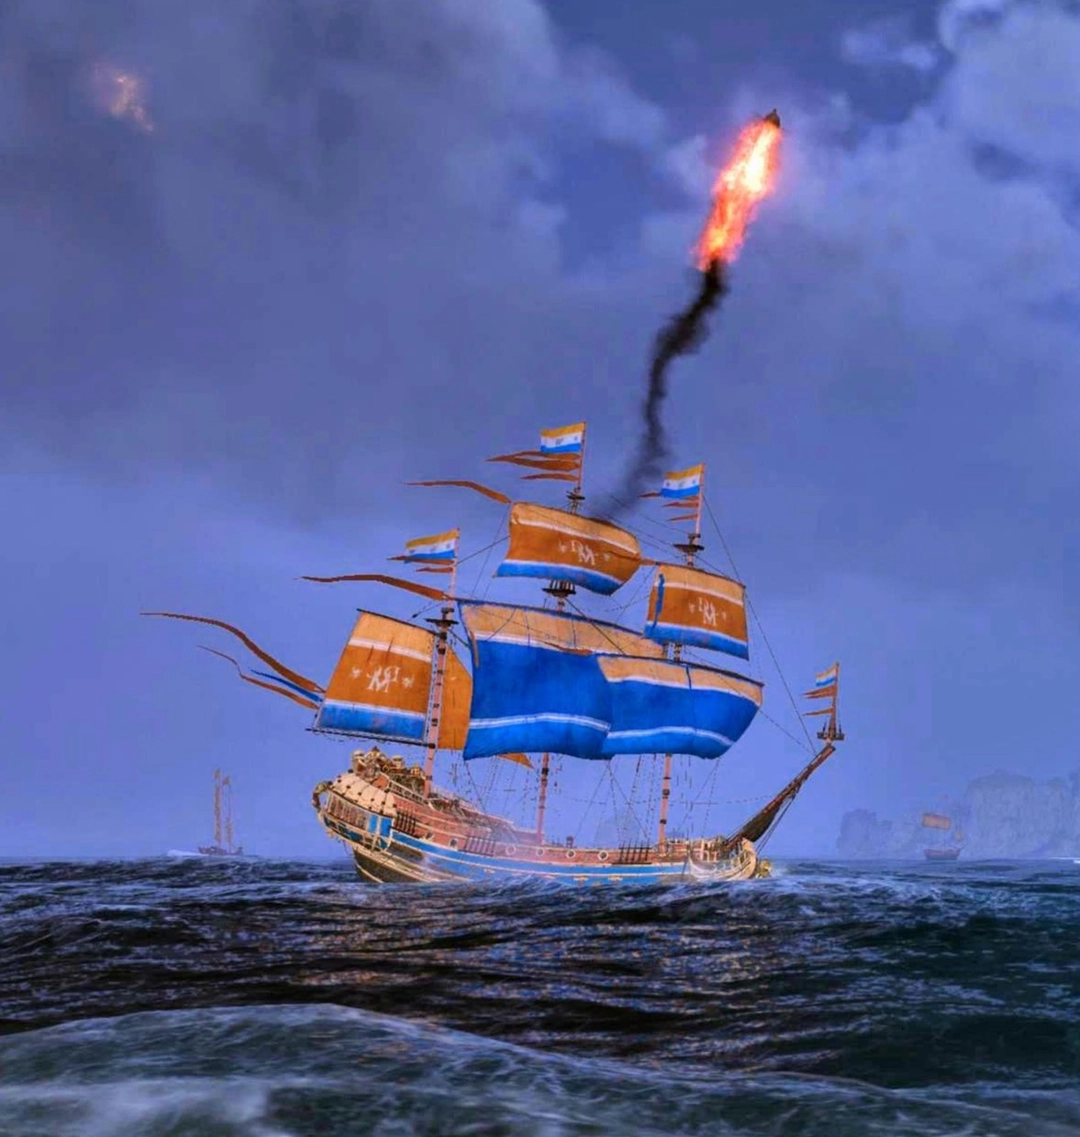
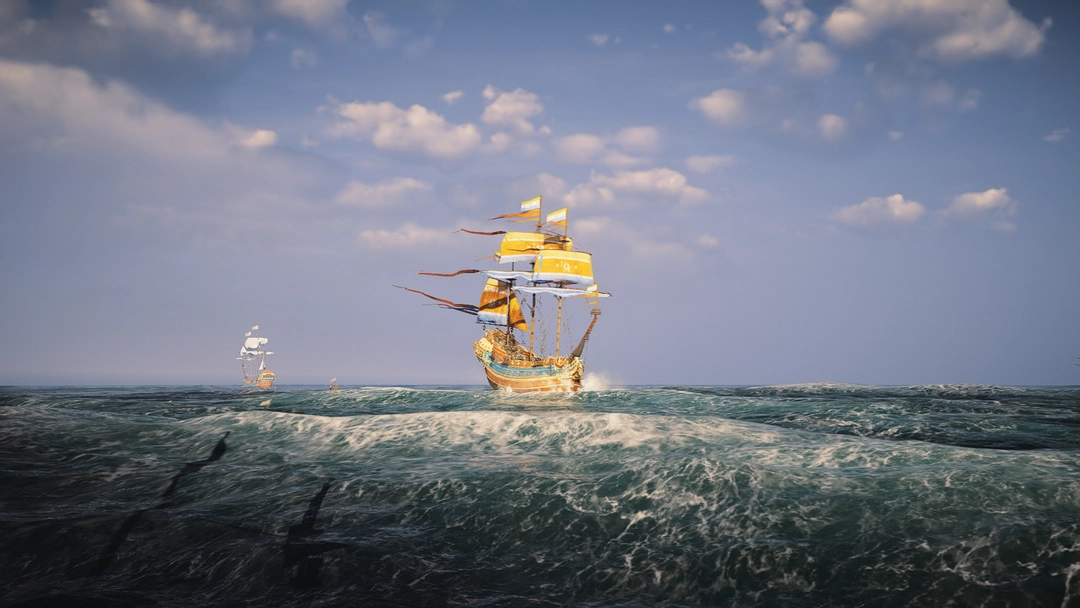
The original elite warship introduced with season Y1S1 - Raging Tides.
This world event features a boss fight against the Opwelling a rank 12 DMC elite warship.
Back when it was released, in a time without ship upgrades or self-healing weapons, this encounter was the first that players tried to actively solo and fight for the quickest completion time. Which makes it a special point in the Skull and Bones history.
The main reward for defeating it is a DMC Treasure Chest including an cosmetic ship set.
Rising tensions in the Open Seas have forced the DMC to deploy their flagship to the region. The ship has begun patrolling the East Indies.
The Opwelling is commissioned for the sole purpose of exterminating piracy. The DMC views it as their greatest hunter-killer in their fleet.
As part of their campaign to eliminate pirates following the Schaduw Heist, the DMC played down the Opwelling as a capable warship and spread misinformation amongst the remnants of Freeman's crew that it was an old, fragile an unarmed cargo ship. The result of this subterfuge was the successful ambush and elimination of significant parts of Freeman's crew on Christmas Day, 1691. Freeman abandoned his crew in July 1691 and escaped to the Arabian Peninsula
Following that success, the Opwelling and another commissioned DMC privateer were combined with four Compagnie "men of war" as part of a joint fleet which then destroyed Lanitra.
The dread pirate hunter, Jacob de Roy, captained the Opwelling for that assault. De Roy was a serving officer on the Schaduw and has been hunting Freeman ever since. His current whereabouts are unknown.
~By StrongJonSilver
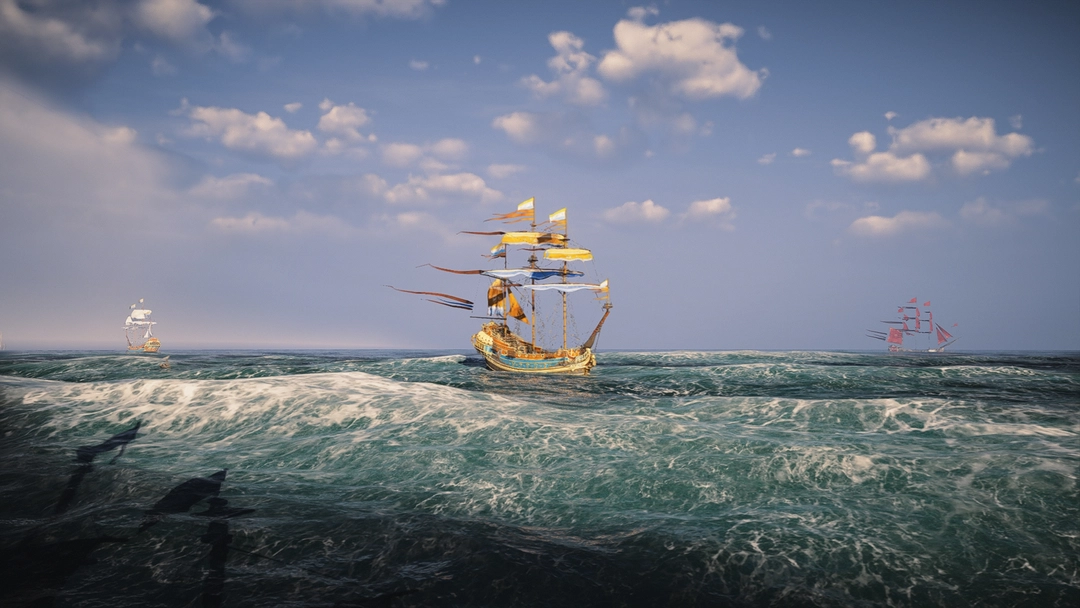
As first DMC elite warship on the seas it's attacks and patterns act as basis for others like the Wolvenjager.
Over the seasons the Opwelling had multiple spawn locations, but they were always in the East Indies.
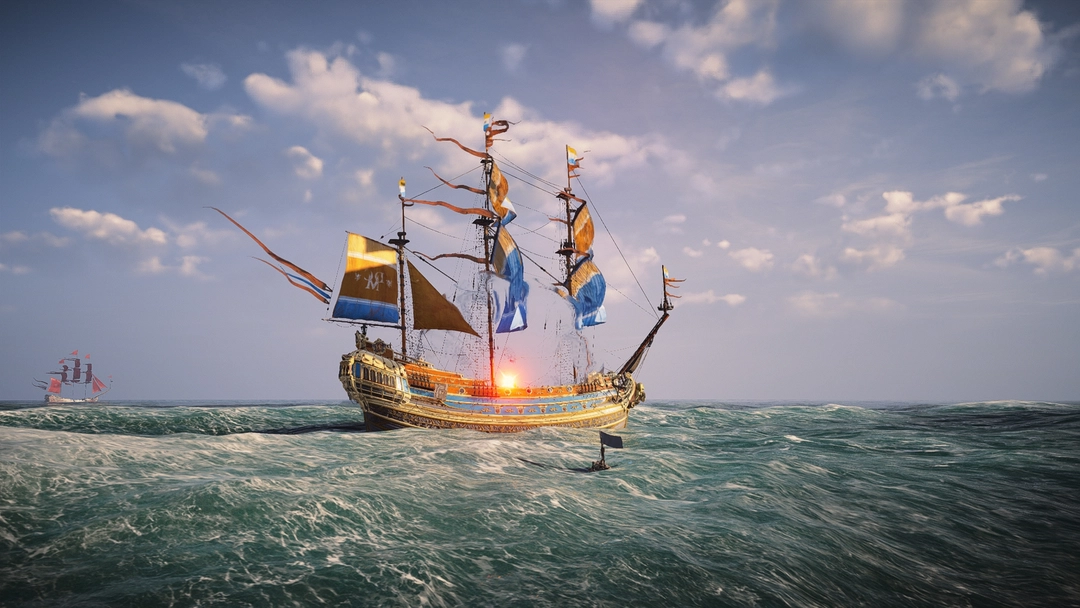
Its unique attacks and patterns can be summarized as following:
1. Mortar
This signature attack of it is a hard hitting mortar shot being fired at the player. Dealing heavy damage and very quickly building up the Flooded status effect on the player.
Thanks to MostlyVP for the image.
2. Barrage Mode
In this mode stops the Opwelling staying at the same spot and begins to continuously fire broadsides at the enemy player with a rapid reload of its cannons.
Side Fact
Back in the Gameplay showcased at the E3 2018 the Frigate ship class had a very similar perk.
3. Reinforcements
Along the fight are reinforcements being called in which consist of a repair ship and a bombardier. Both have a moderate amount of health and also deal a moderate amount of damage. The bombardier can quickly build up the Flooded status effect on the player with its attacks.
With this attacks, the following points should be kept in mind and focussed:
1. Target the weakpoints
As the ship itself is quite tanky, focussing the weakpoints is a good way to save on ammunition and to also reduce the overall time of the fight. This also helps the own survivability when running a more dps focussed build. Focussing on one weakpoint is recommended as detroying it results in extra damage dealt.
2. Stay close
It can be helpful to stick close to the ship to avoid most of the mortar shots, however you can still be hit by a mortar shot as sometimes the Opwelling also fires directly on itself if you're sticking to the ship.
When staying that close to the ship an eye should be kept on its cannon on the upper deck to notice when they fire and to brace accordingly.
3. Clear the Reinforcements
It may be tempting to ignore the reinforcements first, but they should be cleared as soon as possible as the extra damage dealt by the bombardier can turn deadly quite quickly. The repair of the other ship to the Opwelling is very small, but can add up if ignored.
With this in mind a close combat/crew attack build is recommended.
Depending on the loadout could a Snow be used with bombards or demicannons as a save option or a
Sambuk with some self healing weapons like the
Nashkar or
Hellepoort. For additional safety, when using an DPS loadout, the
Immortal Vessel armor can be used.
Some possible loadouts that could work or act as a starting point:
Snow
Barque
Sambuk
After defeating it you will get several items including the DMC Treasure Chest.
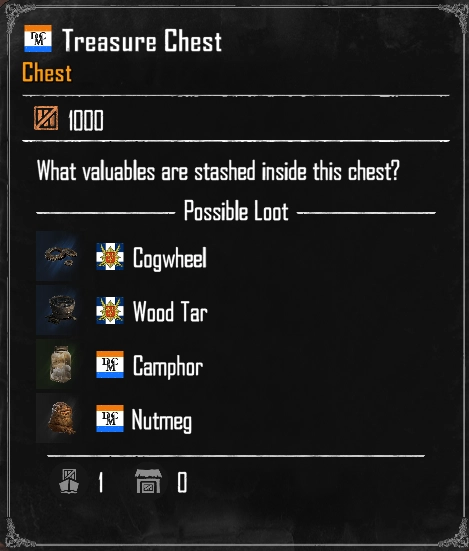
What valuables are stashed inside this chest?
Following are the reward tables for the DMC Treasure Chest.
| Reward |
|---|
| Reward | Set |
|---|---|
Please note that some cosmetics are not exclusive to this chest, but can also be obtained in the DMC Treasure Chest of the A Show of Strength world event however with lower drop rates.
Want to publish your own guide in the Compendium or have something to add to this article?
If so please send a direct message to herby2212 on discord.
You can also try out creating an guide in advance in the Compendium Editor.